
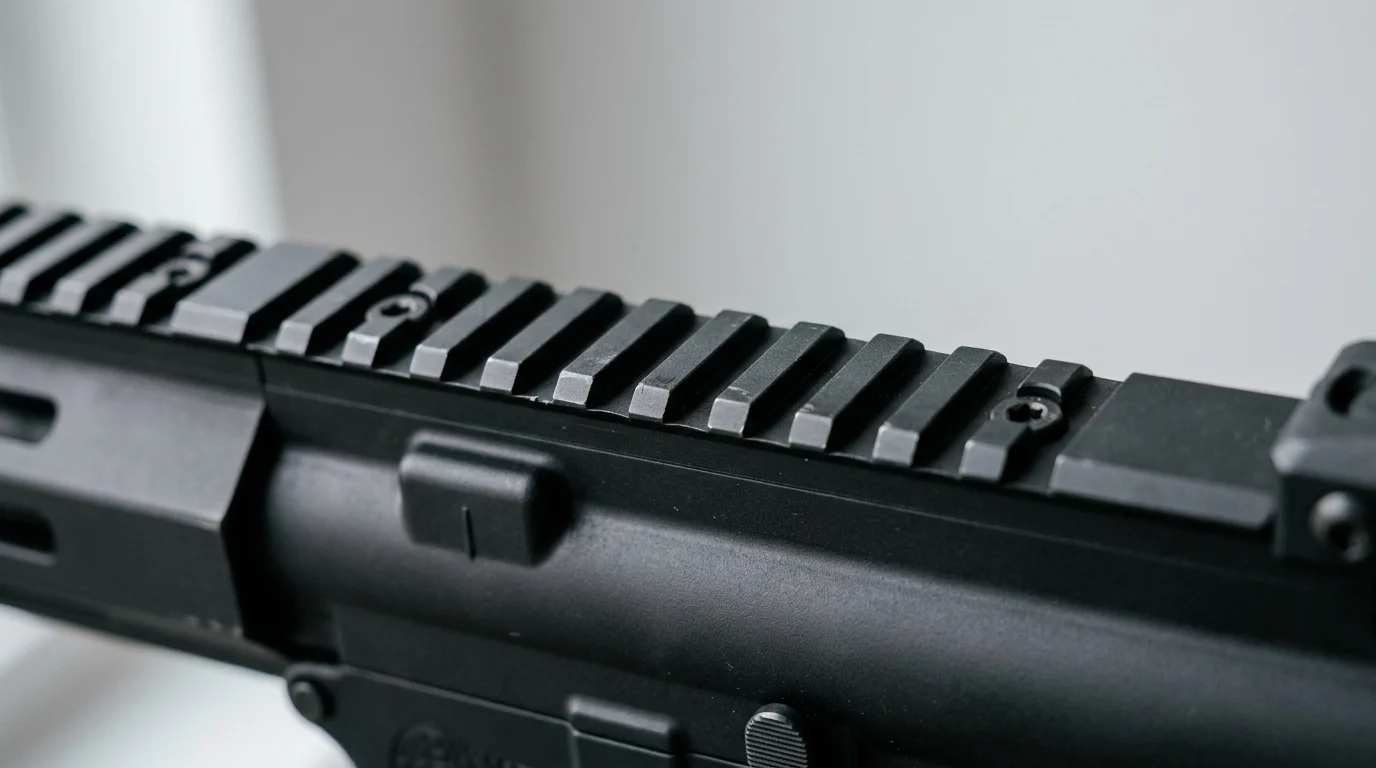
A solid optic mount starts long before the scope rings are tightened. Even high-quality rifles and machined Picatinny rails can have tiny mismatches that create stress once screws are torqued down. Those gaps—sometimes only a few thousandths of an inch—can bend the rail, disturb ring alignment, and compromise repeatable tracking under recoil. Bedding a Picatinny rail uses epoxy to create full, custom contact between the base and receiver, giving the scope a more stable foundation. This guide explains why bedding matters, what problems it can prevent, and the practical steps and cautions needed to achieve a secure, stress-reduced fit.
Why bedding a Picatinny rail matters
Mounting a machined aluminum base onto a steel receiver appears straightforward. Shooters often select a premium scope base or rail, align the holes, insert the fasteners, and apply torque. However, in precision shooting, assuming two machined surfaces mate perfectly without intervention can lead to inconsistent accuracy.
Bedding is frequently applied to one-piece Picatinny scope bases and rails. The process involves filling microscopic voids between the rail and the receiver with a specialized epoxy compound. This creates a custom-molded, stress-free foundation that promotes optimal alignment, ensuring that recoil forces do not compromise the mounting system over time.
Rail-to-receiver contact basics
Understanding this process requires examining manufacturing tolerances. Even top-tier rifles and rails exhibit slight dimensional variations from the factory. A receiver might be perfectly round while the rail's underside has a minuscule flat spot, or a receiver ring might sit slightly lower than the bridge.
Bedding aligns the base to the receiver; it does not fix a misaligned receiver or correct poorly drilled holes. When placing the rail on the receiver without screws, tapping the front or rear often reveals a slight seesaw motion. A gap typically ranging from 0.001 to 0.010 inches—depending on the specific rail and measurement location—may seem trivial, but it introduces significant mechanical stress once torque is applied.
Common problems bedding can prevent
The primary issue caused by a poorly mated rail is induced stress. When screws are tightened to the manufacturer's specification (typically 15 to 20 in-lbs) over an uneven surface, the aluminum rail physically bends to conform to the steel receiver. This bowing effect transfers into the rings, meaning the precision rifle scope is subjected to pinching or twisting.
A pinched optic can suffer from severe tracking errors, yielding unpredictable turret adjustments, or permanent structural damage to the main tube. Below is a breakdown of how a bedded setup compares to a standard unbedded installation. Note that while bedding creates a stress-free base, it does not eliminate the need to properly align and lap the scope rings. Shooters must still perform a post-bedding ring-alignment check to ensure complete optical safety.
| Metric | Un-bedded (Dry Mount) | Bedded (Epoxy Matched) |
|---|---|---|
| Surface Contact | Partial | Complete custom fit |
| Stress under Torque | Elevated (Rail bowing possible) | Minimized (Even distribution) |
| Scope Ring Alignment | Variable | True to receiver (lapping still required) |
| Optic Pinch Risk | Elevated risk | Minimized risk |
How to bed a Picatinny rail correctly
Transforming an uneven base into a stable foundation requires meticulous preparation. The process balances careful setup with the risk of permanently bonding mounting accessories to a firearm if executed incorrectly.
With the correct methodology and attention to detail, shooters can achieve an excellent fit at home, though professional gunsmithing is advisable for those uncomfortable with permanent modifications.
Inspection and preparation steps
Preparation ensures the epoxy adheres only where intended. Confirm the firearm is unloaded, wear eye protection, and work in a well-ventilated area. Gather the necessary tools: a gunsmithing-specific epoxy compound (such as Acraglas or Devcon Steel Putty/SteelBed, which offer necessary heat and creep resistance), release agent, degreasing solvents, a torque wrench, feeler gauges, and modeling clay to plug voids.
- Degreasing: Strip factory oils from every screw hole, receiver thread, and mating surface using a solvent like non-chlorinated brake cleaner. Residual grease prevents the epoxy from adhering to the rail's underside.
- Measuring: Use automotive feeler gauges to measure the exact gap size between the rail and receiver to determine the required epoxy volume.
- Applying Release Agent: Apply a high-quality release agent (like neutral shoe polish or a commercial aerosol) to the rifle receiver to prevent the rail from permanently fusing to the gun. Critical caveat: Never apply release agent to the screw threads, as this defeats the threadlocker and compromises fastener security.
Bedding vs dry mounting
Dry mounting is fast, requiring only threadlocker and proper torque. Before deciding to bed, check rail-to-receiver contact using shim stock or a marking compound to determine if an unbedded installation is sufficient. Bedding requires an investment of time and specific epoxy compounds. It is a semi-permanent modification; removing a bedded rail safely often requires applying localized heat (such as a soldering iron applied to the rail) to break the epoxy bond without damaging the receiver, and the process may affect manufacturer warranties.
If bedding is necessary, proceed with the following application steps:
- Epoxy Application: Apply a thin layer of mixed epoxy strictly to the underside of the rail. Use modeling clay to plug holes and take extreme care to prevent epoxy from entering the action, bolt raceway, or trigger mechanism.
- Clamping: Lightly secure the rail using guide screws or minimal, even torque. It is critical to maintain proper rail alignment and bore-level orientation while the epoxy cures, rather than simply tightening one end and allowing the other to float.
- Cure Time: Allow the compound to cure completely, adhering to the epoxy manufacturer's specified waiting period (often 24 hours) in a climate-controlled environment.
- Cleanup and Final Verification: Once cured, peel away excess material that squeezed out the sides. Verify the final torque on all fasteners according to the rail manufacturer's specifications, and follow up with a scope ring alignment check.
When to bed a Picatinny rail
Despite the ballistic benefits of a custom-molded fit, not every firearm requires this level of tuning. A recreational rifle designed for short-range target practice will perform perfectly fine with a standard dry-fastened mount.
The decision to bed a rail ultimately depends on the physical demands placed on the hardware and the shooter's accuracy expectations.
Best use cases for rifles
Precision long-range rifles are prime candidates for rail bedding. When engaging targets beyond 1,000 yards, a microscopic shift in the optic base translates to a significant miss downrange. Heavy recoiling calibers, such as the .300 Winchester Magnum or .
Key Takeaways
- Check for rail movement before installation by placing the Picatinny rail on the receiver without screws and tapping each end to detect rocking.
- Even a 0.001 to 0.010 inch gap can create stress when rail screws are torqued, especially on one-piece aluminum bases.
- Bedding fills microscopic voids with epoxy to create full contact between the receiver and rail while minimizing rail bowing.
- Use the manufacturer’s torque specification for base screws, which is commonly around 15 to 20 in-lbs for many scope rail installations.
- Bedding does not repair misaligned receivers or poorly drilled screw holes, so inspect the firearm and rail before applying epoxy.
- After bedding, still verify scope ring alignment and consider lapping where appropriate to protect the optic from tube stress.
Frequently Asked Questions
What does bedding a Picatinny rail do?
Bedding fills tiny gaps between the rail and receiver with epoxy, creating a custom-fit contact surface that reduces stress, rail flex, and movement under recoil.
When should a Picatinny rail be bedded?
Consider bedding if the rail rocks, shows uneven contact, or has visible gaps when placed on the receiver without screws. Gaps as small as 0.001 to 0.010 inches can matter.
Does bedding fix misaligned screw holes?
No. Bedding improves rail-to-receiver contact, but it does not correct poorly drilled holes, a warped receiver, or major machining defects.
What torque should be used on Picatinny rail screws?
Always follow the rail or rifle manufacturer’s specification, but many scope base screws are commonly tightened around 15 to 20 in-lbs.
Can bedding prevent scope damage?
It can reduce the chance of rail-induced stress transferring into the rings and scope tube, but ring alignment and lapping checks are still important.
Post time: Jul-09-2026