
Zeroing a red dot sight at 25 yards isn’t just a skill—it’s a game-changer for precision shooting. Why 25 yards? Here’s why:
- The bullet starts roughly 1.75 inches below the scope.
- At 25 yards, it aligns about ¾ inch above the line of sight, setting the stage for a perfect 100-yard zero.
- The bullet peaks near 50 yards, but the 25-yard zero ensures smooth trajectory alignment.
Hitting the target consistently requires aligning the point of aim (POA) with the point of impact (POI). This process:
- Boosts accuracy by minimizing vertical deviation.
- Helps shooters anticipate bullet impact with confidence.
- Enhances performance across various ranges.
Mastering this technique transforms any shooter into a versatile marksman, prepared for anything from tight-range drills to long-distance challenges.
Key Takeaways
- Setting a red dot sight at 25 yards improves aim. It helps match where you aim with where the bullet hits.
- Pick the right gun, red dot sight, and bullets for your needs. Good equipment is key for proper sight setup.
- Stay steady while shooting and don’t rush changes. Being patient and focused gives better results and boosts confidence.
Preparation for Zeroing a Red Dot
Selecting the Right Firearm, Red Dot Sight, and Ammunition
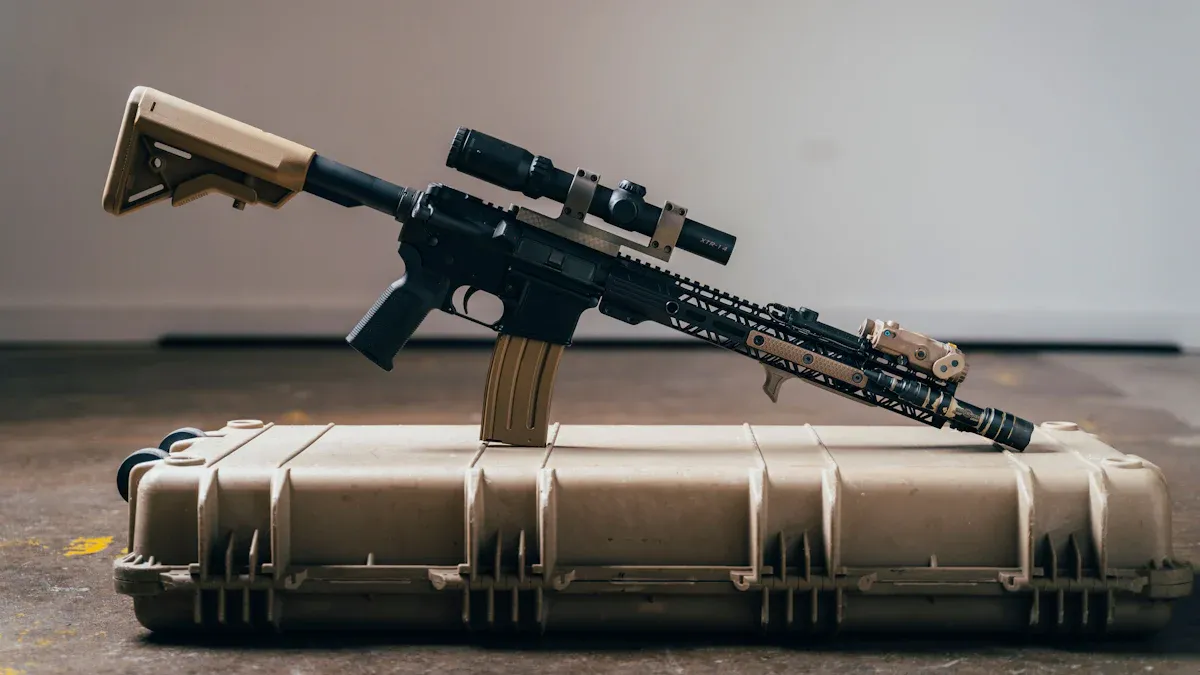
Choosing the right gear sets the foundation for a successful zeroing session. For firearms, consider the intended purpose. A sport rifle works best for competitive shooting, while a durable model suits hunting or security needs. Pair it with a red dot sight that matches your activity. For instance:
- Hunting: Opt for a sight with long battery life and fog resistance, like the Pinty Smiley Face Red Dot.
- Sport Shooting: The Trijicon SRO offers a larger window, cutting target acquisition time by 0.2 seconds.
- Security: Premium sights maintain zero even after 10,000 rounds of high-recoil ammunition.
Ammunition matters too. Stick to consistent, high-quality rounds to avoid unpredictable results.
Setting Up a Safe and Effective Range Environment
Safety first! Always choose a range with a clear backstop to catch stray bullets. Ensure the area is free of distractions and hazards. Use a sturdy shooting bench or platform for stability. Mark your 25-yard distance accurately with a tape measure or rangefinder. A calm, controlled environment helps you focus on precision.
Pro Tip: Start with the lowest practical magnification on your sight, such as 4x or 6x, to stabilize your image.
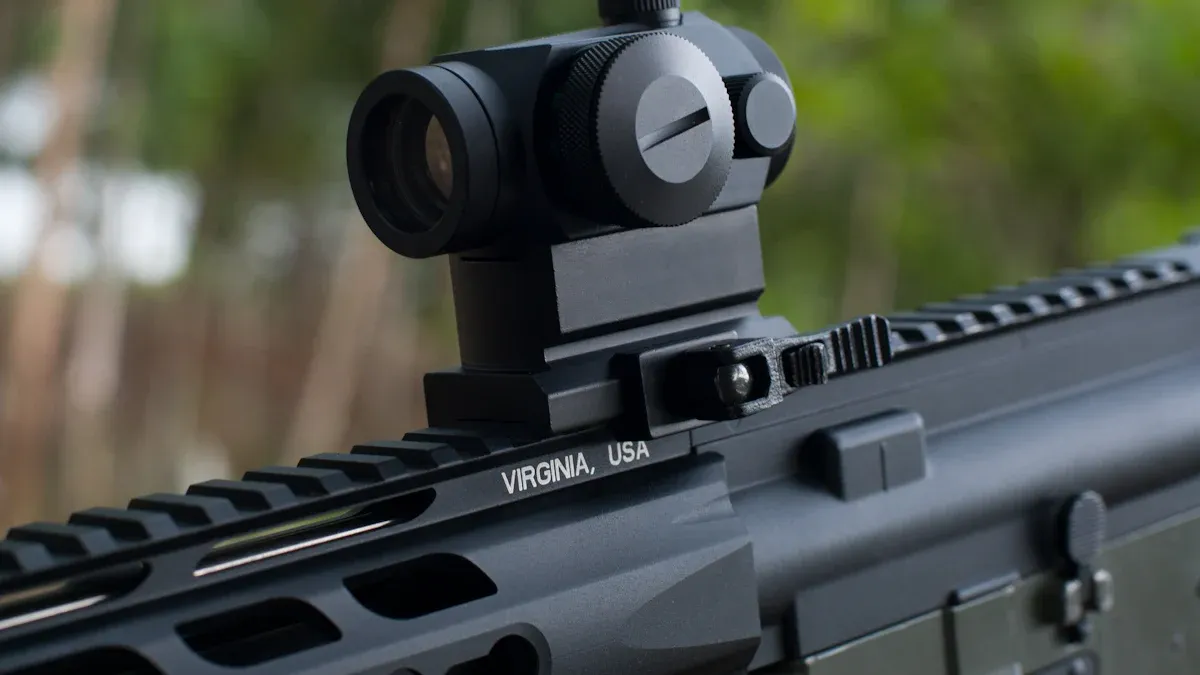
Essential Tools for the Zeroing Process
A few tools can make zeroing a breeze. A magnifier like the Atibal CM3 3x Compact helps with target identification and offers forgiving eye relief. For higher magnification, the EOTECH G45 delivers military-grade clarity at 5x. Don’t forget a quality shooting rest or sandbags to stabilize your firearm. A small screwdriver or adjustment tool is essential for tweaking windage and elevation settings.
Checklist:
- Firearm and red dot sight
- Ammunition
- Magnifier (optional)
- Shooting rest or sandbags
- Adjustment tools
With the right preparation, you’ll be ready to zero your red dot like a pro.
Step-by-Step Process to Zero a Red Dot at 25 Yards
Stabilizing the Firearm for Consistent Results
Stability is the secret sauce for precision. A wobbly firearm leads to inconsistent results, making it impossible to zero a red dot effectively. Start by securing the firearm on a shooting rest or sandbags. This setup minimizes movement and ensures each shot is as steady as a surgeon’s hand.
Position the firearm so the barrel aligns naturally with the target. Avoid gripping the firearm too tightly, as this can introduce unnecessary tension. Instead, maintain a relaxed yet firm hold. A stable shooting platform allows the shooter to focus entirely on adjustments without worrying about external factors.
Pro Tip: Use a bubble level to ensure the firearm is perfectly horizontal. Even a slight tilt can throw off your zeroing process.
Bore Sighting to Align the Red Dot with the Barrel
Bore sighting is like setting the GPS before a road trip—it gets you pointed in the right direction. Begin by ensuring the firearm is unloaded. Safety first! Clean the barrel to remove any debris that could interfere with accuracy.
Next, install a laser boresighter. Depending on the model, this may involve inserting it into the chamber or attaching it to the muzzle. Set up a target at 25 yards and activate the laser. Adjust the red dot until its reticle aligns with the laser dot on the target. This step ensures the optic and barrel are speaking the same language.
Once aligned, remove the boresighter and fire a test shot. Check the point of impact and make minor adjustments if necessary. Bore sighting saves time and ammunition by providing a solid starting point for zeroing.
Note: While 25 yards is ideal for most scenarios, shooters aiming for longer distances might consider bore sighting at 50 yards for better alignment.
Adjusting Windage and Elevation for Accuracy
Now comes the fine-tuning. Windage and elevation adjustments are like dialing in a telescope to see the stars clearly. Use the turrets on the red dot sight to move the reticle horizontally (windage) and vertically (elevation).
Fire a three-shot group at the target. Analyze the grouping to determine how far off the point of impact is from the point of aim. Adjust the windage and elevation turrets accordingly. For example, if the shots land low and to the left, raise the elevation and shift the windage to the right.
Repeat this process until the point of impact matches the point of aim. Precision adjustments ensure the red dot is perfectly zeroed, making every shot count.
Quick Tip: Most red dot sights adjust in 1/4 MOA increments, meaning each click moves the reticle 1/4 inch at 100 yards. At 25 yards, each click equals 1/16 inch.
Fine-Tuning the Red Dot for Precise Alignment
Fine-tuning is where the magic happens. After making initial adjustments, fire another three-shot group. This time, focus on achieving a tight grouping at the center of the target. Consistency is key. If the shots are slightly off-center, make incremental adjustments to the windage and elevation.
For the best results, use high-quality ammunition. Inconsistent rounds can produce erratic groupings, making it harder to achieve a precise zero. Take your time with this step. Rushing can lead to errors that undo all the progress made so far.
| Adjustment Tips | Description |
|---|---|
| Small Increments | Make tiny adjustments to avoid overshooting the target. |
| Consistent Ammo | Stick to one type of ammunition for reliable results. |
| Steady Breathing | Control your breathing to minimize movement during the shot. |
Fine-tuning transforms a good zero into a perfect one. With the red dot precisely aligned, the shooter can confidently hit targets at various distances.
Confirming Accuracy and Final Adjustments
Analyzing Shot Groupings for Consistency
Shot groupings tell the story of a shooter’s precision. A tight cluster of bullet holes on the target means the firearm and the shooter are working in harmony. To analyze groupings, start by firing three to five shots at the center of the target. Examine the pattern of the holes. Are they scattered like confetti or clustered like a bullseye?
Consistency is the goal. If the shots form a tight group but land off-center, the red dot needs further adjustment. However, if the groupings are inconsistent, the shooter might need to focus on their technique. Factors like grip, breathing, and trigger control can affect accuracy.
Pro Tip: Use a marker to circle each grouping on the target. This helps track progress and identify patterns over multiple attempts.
Making Incremental Adjustments to Perfect the Zero
Perfecting the zero is like fine-tuning a musical instrument. Small adjustments make a big difference. After analyzing the shot groupings, use the red dot’s windage and elevation turrets to make precise corrections. For example, if the group lands high and to the right, lower the elevation and shift the windage to the left.
Take it slow. Adjust one variable at a time and fire another three-shot group. This method ensures each change has the desired effect. Over-adjusting can lead to frustration and wasted ammunition.
Quick Tip: Keep a notebook handy to record turret adjustments. This creates a reference for future zeroing sessions and helps avoid repeating mistakes.
Verifying the Zero After Multiple Shots
Verification is the final step in the zeroing process. Fire a series of shots—five to ten—at the target. The goal is to confirm that the red dot consistently aligns with the point of impact. If the groupings remain centered, the zero is locked in.
For added confidence, test the zero at different distances. A 25-yard zero should perform well at 50 and 100 yards, thanks to the predictable bullet trajectory. This step ensures the firearm is ready for real-world scenarios, whether it’s a competition or a hunting trip.
Note: Environmental factors like wind and temperature can affect accuracy. Always account for these variables when verifying the zero.
With the zero confirmed, the shooter can trust their equipment to deliver reliable results. This confidence translates to better performance and a more enjoyable shooting experience.
Practical Tips for Zeroing a Red Dot
Maintaining a Steady Shooting Position
A steady shooting position is the backbone of accurate zeroing. Expert shooters emphasize the importance of balance and posture. Keeping the body stable reduces unnecessary movement, especially during the critical moments before firing. Research shows that elite shooters maintain superior body balance compared to novices, which directly improves accuracy.
To achieve this, plant your feet firmly on the ground and keep your shoulders relaxed. Use a solid rest or sandbags to stabilize the firearm. Avoid leaning too far forward or backward, as this can disrupt your aim. A proper stance not only enhances precision but also minimizes fatigue during extended shooting sessions.
Pro Tip: Practice dry firing to refine your posture and build muscle memory without wasting ammunition.
Avoiding Common Zeroing Mistakes
Even seasoned shooters can make errors during the zeroing process. Avoid these common pitfalls to save time and ammo:
- Rushing Adjustments: Making large changes to windage or elevation can lead to overcorrection. Always adjust in small increments.
- Inconsistent Ammo: Switching between ammunition types can produce erratic results. Stick to one brand and grain weight for consistency.
- Skipping Group Analysis: Firing a single shot and adjusting immediately can mislead your zeroing efforts. Always fire a three-round group to assess alignment.
Zeroing a red dot sight requires patience and attention to detail. Taking shortcuts often leads to frustration and wasted resources.
Ensuring Safety Throughout the Process
Safety should always come first. Follow these protocols to ensure a secure zeroing session:
| Safety Process | Description |
|---|---|
| Risk Assessments | Identify potential hazards and address them before starting. |
| Incident Management | Report and learn from near-misses to improve safety practices. |
| Safety Inspections | Regularly inspect equipment and the range for unsafe conditions. |
| Behavior-Based Safety | Promote safe habits and hold everyone accountable for maintaining a safety-first environment. |
Additionally, always wear eye and ear protection. Use a range with a clear backstop to prevent stray bullets from causing harm. A safe environment allows shooters to focus on their technique without distractions.
Reminder: Double-check that the firearm is unloaded before making any adjustments to the red dot sight.
Zeroing a red dot sight at 25 yards involves a few simple steps:
- Place the target at 25 yards.
- Shoot a grouping at your point of aim.
- Measure the distance between aim and impact.
- Adjust windage and elevation.
- Confirm accuracy with another grouping.
Mastering this boosts confidence and sharpens accuracy. Regular practice ensures consistent results.
FAQ
What makes 25 yards the magic number for zeroing a red dot?
At 25 yards, the bullet’s trajectory aligns perfectly with the red dot. This setup ensures accuracy at both close and extended ranges. It’s like hitting two birds with one stone!
Post time: Apr-27-2025