
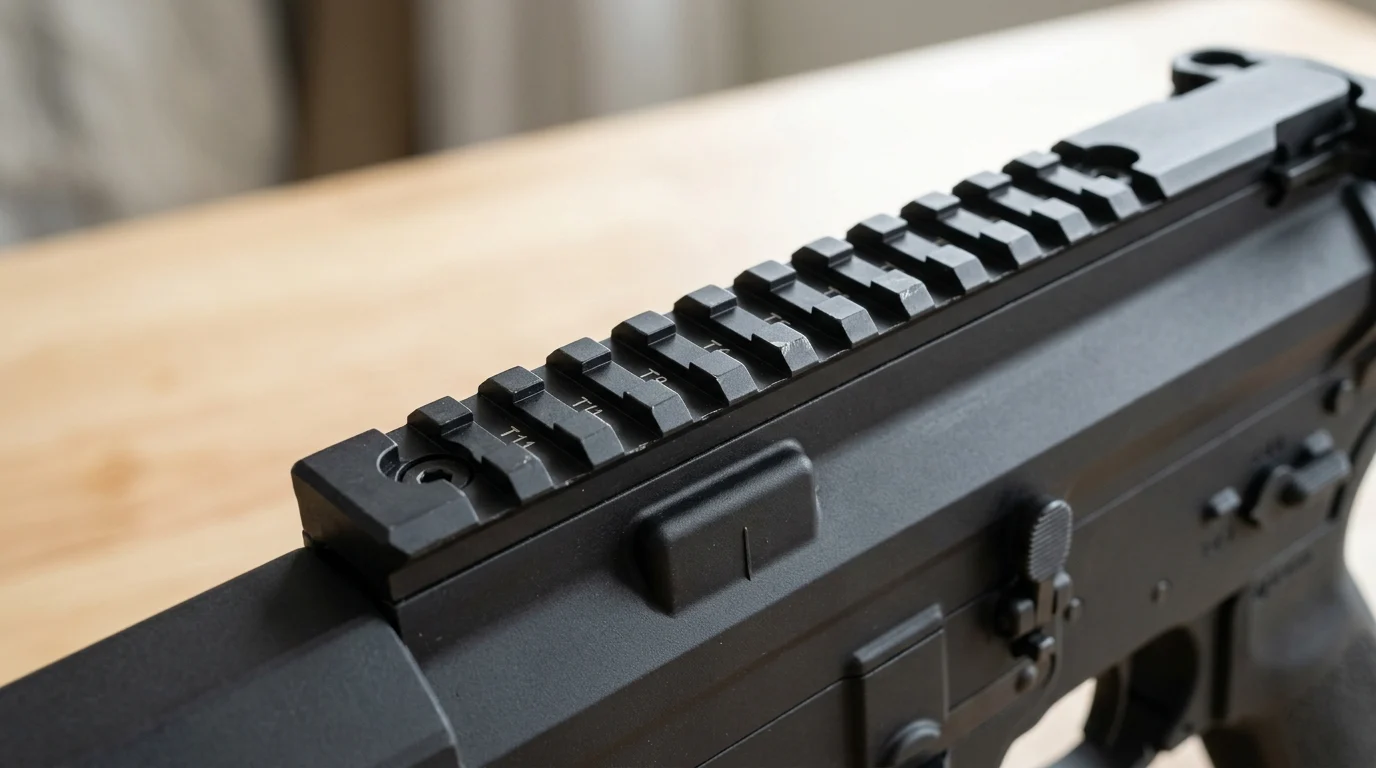
A Picatinny rail can turn a basic firearm into a highly adaptable platform, but every added accessory changes weight, balance, and handling. The best upgrades are not the flashiest ones; they are the parts that improve aiming, control, illumination, stability, or carry efficiency without cluttering the setup. Because MIL-STD-1913 rails use precise 0.206-inch recoil grooves and 0.394-inch spacing, they remain a dependable foundation for optics and hard-use gear. This guide looks at the rail-mounted additions that actually justify the space, helping you build a cleaner, more capable firearm for defense, hunting, range work, or precision shooting.
Choose Picatinny Rail Upgrades With a Purpose
The modern tactical platform offers nearly endless customization. However, a focused, intentional approach to rail real estate is essential for maintaining agility and effectiveness. Shooters often fall into the trap of buying gear before defining the firearm's purpose, leading to a cluttered setup that hinders rather than helps.
What a Picatinny Rail Does Best
The MIL-STD-1913 rail shines because of its consistency. Designed originally to handle the punishing recoil of heavy-caliber platforms, it features recoil grooves measuring exactly 0.206 inches wide and spaced at precise 0.394-inch intervals. (Note that while older Weaver accessories may fit Picatinny slots, Picatinny accessories generally will not fit Weaver rails due to these wider grooves.) This standardized geometry allows heavy optics and tactical gear to lock down tight, returning to zero even after being repeatedly detached and reattached in the field.
While modern handguards often rely on lighter M-LOK or KeyMod slots for general attachments—meaning you may need specific M-LOK or KeyMod to Picatinny adapter sections, which consumes additional rail real estate—continuous Picatinny top rails remain highly reliable for mounting heavy or zero-dependent accessories. Beyond dimensions, material matters. A rail machined from 7075-T6 aerospace-grade aluminum generally offers significantly higher tensile strength than standard 6061-T6 variants, ensuring the slots resist deformation under heavy bipod loading or accidental drops. It transforms a bare receiver into a highly adaptable canvas.
How to Match Accessories to Your Use Case
A home defense setup demands rapid target acquisition and maneuverability in tight hallways, making lightweight gear paramount. In contrast, a bench-rest precision rifle thrives on stability, where extra weight can actually help mitigate recoil. Slapping three pounds of aluminum and glass onto a nimble carbine defeats its original design. Shooters should select a high-quality scope base or rail foundation and carefully evaluate every piece of gear before attachment. It is also important to distinguish between mounting on a rigid upper receiver versus a free-float handguard, as handguard flex can negatively impact the zero of precision optics or aiming lasers. If an item does not directly serve the primary mission of the firearm, it belongs in the spare parts bin. Understanding whether the rifle will be carried for ten miles on a hunt or dragged from a safe to a static shooting bench dictates every accessory choice.
Seven Picatinny Rail Upgrades Worth the Space
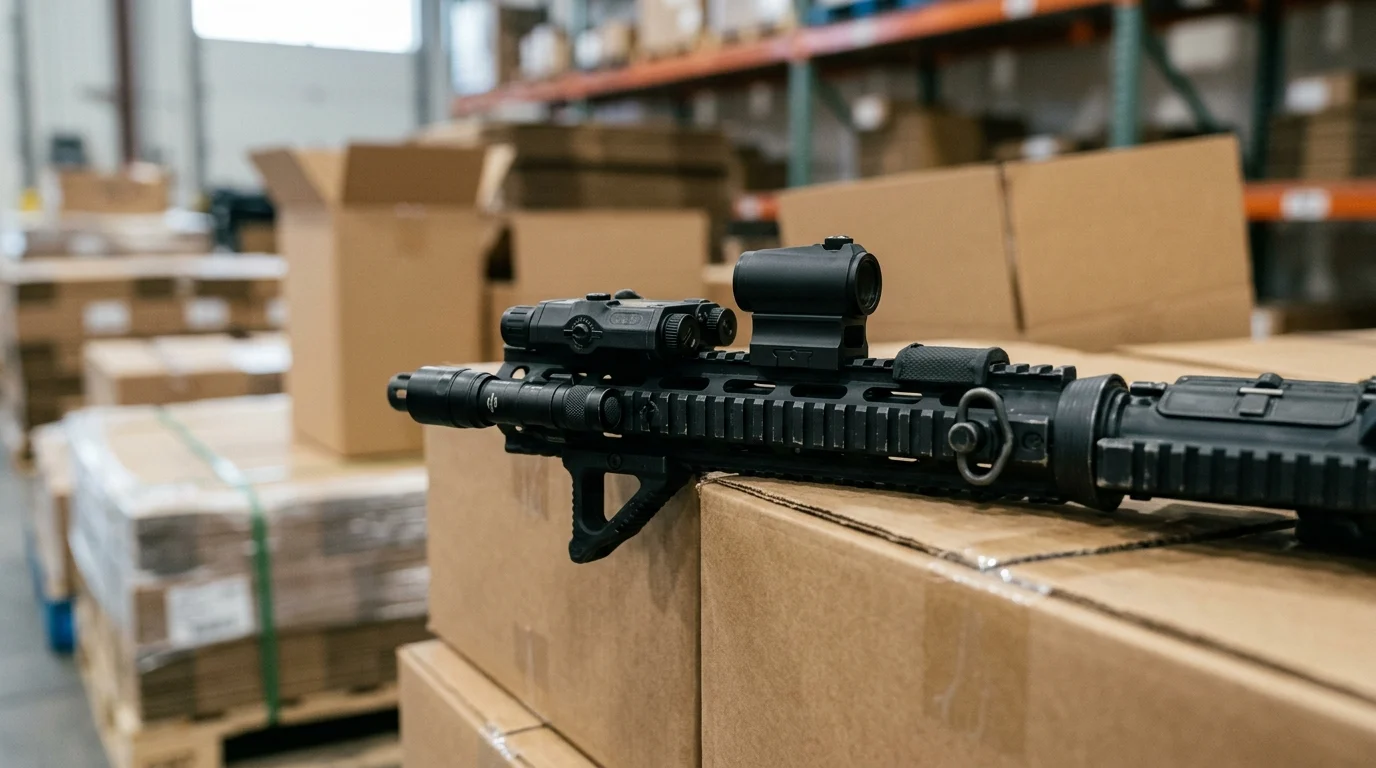
When rail real estate is limited, every ounce must justify its presence. The modern sporting market is flooded with tactical toys and novelties that promise to improve performance. Yet, amidst the noise, only a handful of rail-mounted upgrades and adapters truly elevate a platform. Identifying these core components separates a practical tool from a range toy.
Essential Upgrades for Control, Light, and Stability
Seven practical categories of rail-mounted upgrades include:
- Red Dot Optics & Mounts: Ideal for home defense and close-range setups requiring rapid target acquisition. Look for robust mounts featuring integral recoil lugs and standard footprints (e.g., Aimpoint Micro or Trijicon RMR patterns) for broad compatibility.
- Flip-to-Side Magnifiers: Provide versatile engagement ranges for general-purpose carbines when paired with a primary red dot. Seek out quick-detach (QD) mounts with adjustable diopters.
- High-Output Weapon Lights: Highly recommended for low-light target identification on defensive builds. Look for dual-fuel capability and reliable tape switch tailcaps. Manufacturer specifications vary, but lights pushing 600 to 1,000 lumens and 40,000 to 60,000 candela generally provide the necessary beam focus to punch through photonic barriers like streetlights. (Note: Always follow local laws regarding light usage and target illumination.)
- Angled Foregrips & Hand Stops: Enhance ergonomics and support-hand leverage for better recoil management. Textured polymer or machined aluminum designs offer excellent grip. (Note: Be aware of legal regulations regarding vertical foregrips on pistol-classified firearms; angled grips are often a safer legal alternative.)
- Quick-Detach Bipods: Best suited for precision or hunting rifles. Lightweight aluminum or carbon-fiber models (often weighing between 9 and 13 ounces) with pan/tilt functionality and QD lever mounts provide immense long-range stability without bogging down the front end.
- Infrared (IR) Laser Aiming Modules: Crucial for night vision setups. Look for units featuring co-aligned visible and IR lasers to simplify zeroing. (Note: Civilian-legal variants are strictly regulated by the FDA in power output for safety, while the ATF and ITAR/EAR may also restrict the transfer and use of certain IR aiming devices. Always verify local and federal laws.)
- Low-Profile Sling Mounts: Vital for weapon retention and hands-free transitions on tactical or hunting platforms. Anti-rotation QD steel sockets are the industry standard for secure attachment.
Investing in reliable tactical accessories ensures that these critical tools survive harsh conditions, rather than failing during a weekend carbine course or a critical hunt.
Where to Mount Each Upgrade for Best Performance
Placement dictates exactly how well these upgrades function, and haphazardly clamping gear wherever it fits is a recipe for poor performance. Heavy items like optics and magnifiers belong on the rigid upper receiver to maintain a balanced center of gravity and ensure proper eye relief. Bridging an optic mount between the receiver and a free-float handguard can cause zero shifts due to handguard flex. Conversely, control-focused attachments like foregrips need to sit further forward to maximize leverage for the shooter's support hand. Improper placement can interfere with modern shooting techniques, negating the benefit of the accessory. Note that the clock positions below are referenced from the shooter's perspective behind the rifle.
| Upgrade Type | Ideal Rail Position | Primary Benefit & Caveat |
|---|---|---|
| Red Dot Optic | Top Rail (Upper Receiver) | Maximizes zero retention; avoid bridging onto the handguard |
| Magnifier | Top Rail (Behind Optic) | Allows quick transition; requires careful eye relief spacing |
| Weapon Light | 3 or 9 o'clock (Forward) | Minimizes barrel shadowing; ensure rail section is fully supported |
| Angled Foregrip | Bottom Rail (Mid-Forward) | Enhances recoil control and drive |
| Bipod | Bottom Rail (Forward) | Provides maximum pivot stability for |
Avoid an Overloaded Picatinny Rail Setup
Slapping every available accessory onto a Picatinny Rail might look impressive in an action movie, but in reality, it creates a heavy, unbalanced, and snag-prone nightmare. An overloaded firearm causes rapid shooter fatigue and severely slows down target acquisition. The true advantage of a standard MIL-STD-1913 rail lies in its modularity—allowing operators to mount only what a specific scenario requires, rather than carrying the entire catalog at once.
Installation Tips for Secure Mounting
When securing accessories to a Picatinny Rail, proper technique prevents wobbling optics and stripped screws.
- Check the Torque: Over-tightening damages both the accessory and the rail slots. Industry standards dictate that most aluminum scope rings require 15 to 20 inch-pounds of torque, while heavy-duty base mounts might need up to 65 inch-pounds. Always use a calibrated firearm torque wrench.
- Apply Thread Locker: A single drop of medium-strength (blue) thread locker ensures that recoil vibrations will not loosen the mounting hardware over time. Avoid permanent (red) thread locker, which requires high heat for removal.
- Push Forward Before Tightening: Before locking down the clamp, push the accessory forward against the cross-slot. This seats the recoil lug firmly against the rail, neutralizing the rearward force generated during firing and preserving the optic's zero.
Best Upgrade Combinations for Practical Builds
Strategic pairings keep the Picatinny Rail streamlined while maximizing utility.
- The Close-Quarters Setup: Pair a reliable red dot sight with a high-lumen weapon light. Mount the light at the 3 o'clock or 9 o'clock position to maintain a clear field of view while ensuring target identification in low-light environments.
- The Precision Shooter: Combine a low-power variable optic (LPVO) with a quick-detach (QD) bipod. A QD system allows shooters to instantly shed front-end weight when transitioning from bench resting to off-hand shooting.
- The Minimalist: Use a simple hand stop and backup iron sights (BUIS). This keeps the platform highly agile and snag-free, proving that sometimes the best Picatinny Rail upgrade is simply leaving the remaining space empty.
Key Takeaways
- Choose Picatinny accessories based on the firearm’s primary mission, not on available rail space alone.
- Use the rigid upper receiver for zero-dependent optics because handguard flex can affect accuracy.
- Prioritize lightweight accessories on defensive carbines, while precision or bench-rest rifles can benefit from added stability and weight.
- Confirm compatibility before buying because Picatinny slots are 0.206 inches wide and spaced at 0.394-inch intervals, unlike many Weaver rails.
- Select durable rails or bases, preferably 7075-T6 aluminum, when supporting heavy optics, bipods, or hard-use accessories.
- Treat adapters for M-LOK or KeyMod as useful but space-consuming additions that should earn their place on the firearm.
Frequently Asked Questions
What is the main advantage of a Picatinny rail?
A Picatinny rail provides standardized slot geometry, helping optics, mounts, lights, and other accessories lock in consistently and withstand recoil better than less rigid mounting surfaces.
Are Picatinny and Weaver rails the same?
No. Weaver accessories may sometimes fit Picatinny slots, but Picatinny accessories often will not fit Weaver rails because Picatinny recoil grooves are wider and more precisely spaced.
Which Picatinny upgrades are most useful for home defense?
For home defense, prioritize a reliable red dot, a compact weapon light, and a practical sling mount. Keep the setup light to preserve fast handling in tight spaces.
Should precision optics be mounted on the receiver or handguard?
Precision optics should generally be mounted on the rigid upper receiver. Free-float handguards can flex, which may affect zero for optics or aiming lasers.
Does rail material matter?
Yes. Rails made from 7075-T6 aluminum are typically stronger than 6061-T6 options, helping resist slot deformation under recoil, bipod pressure, or hard field use.
Post time: Jul-09-2026