
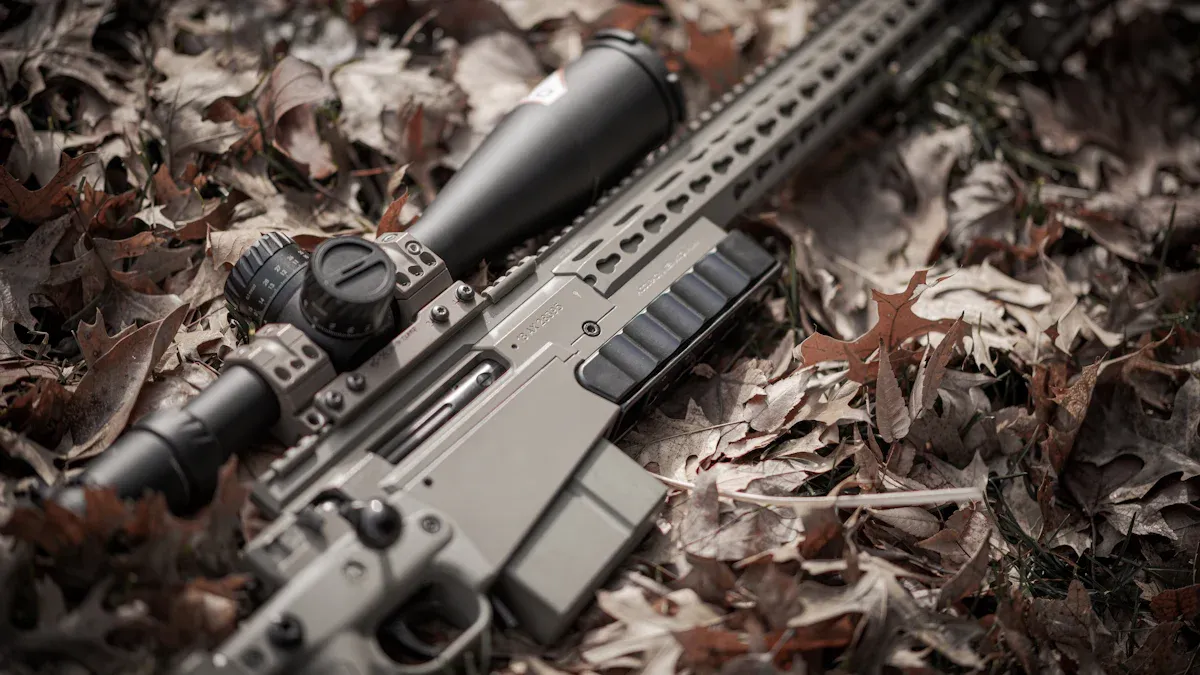
Choosing the correct scope ring height ensures accuracy and comfort during shooting. Proper alignment minimizes clearance above the barrel, improving aim and reducing vibrations. A securely mounted scope on the rail enhances stability. Accessories like adjustable mounts help achieve perfect eye alignment, ensuring an optimal shooting experience.
Key Takeaways
- Picking the right scope ring height helps you shoot better. Good alignment lowers strain and makes aiming easier.
- Check your scope’s lens size and tube size to pick the right ring height. This makes sure the scope fits above the barrel and lines up with your eye.
- Try out different ring heights to find what feels best. Eye alignment and cheek position are key for steady shooting.
Understanding Scope Ring Height
What is scope ring height?
Scope ring height refers to the vertical distance between the base of the mounting system and the center of the scope’s tube. This measurement determines how high the scope sits above the rifle’s barrel. Manufacturers often categorize scope ring heights into four levels: low, medium, high, and super high. These categories correspond to the size of the objective lens, as shown below:
| Ring Height Category | Objective Lens Diameter (mm) |
|---|---|
| Low | 40-42 |
| Medium | 42-44 |
| High | 50-52 |
| Super High | 52+ |
To measure scope ring height, shooters can use two methods:
- Measure from the base to the center of the ring.
- Measure from the base to the inner edge (saddle) of the lower ring.
Understanding this measurement is crucial for selecting the right scope ring for your rifle and ensuring proper alignment.
Why does scope ring height matter for accuracy and comfort?
The height of your scope ring directly impacts shooting performance. A properly mounted scope ensures that the shooter maintains a natural posture, reducing strain on the neck and eyes. It also improves accuracy by aligning the scope with the rifle’s bore. Here are some key reasons why scope ring height matters:
- Ballistic Calculations: Accurate scope height measurements are essential for ballistic calculators. Incorrect values can lead to missed shots, especially at long distances.
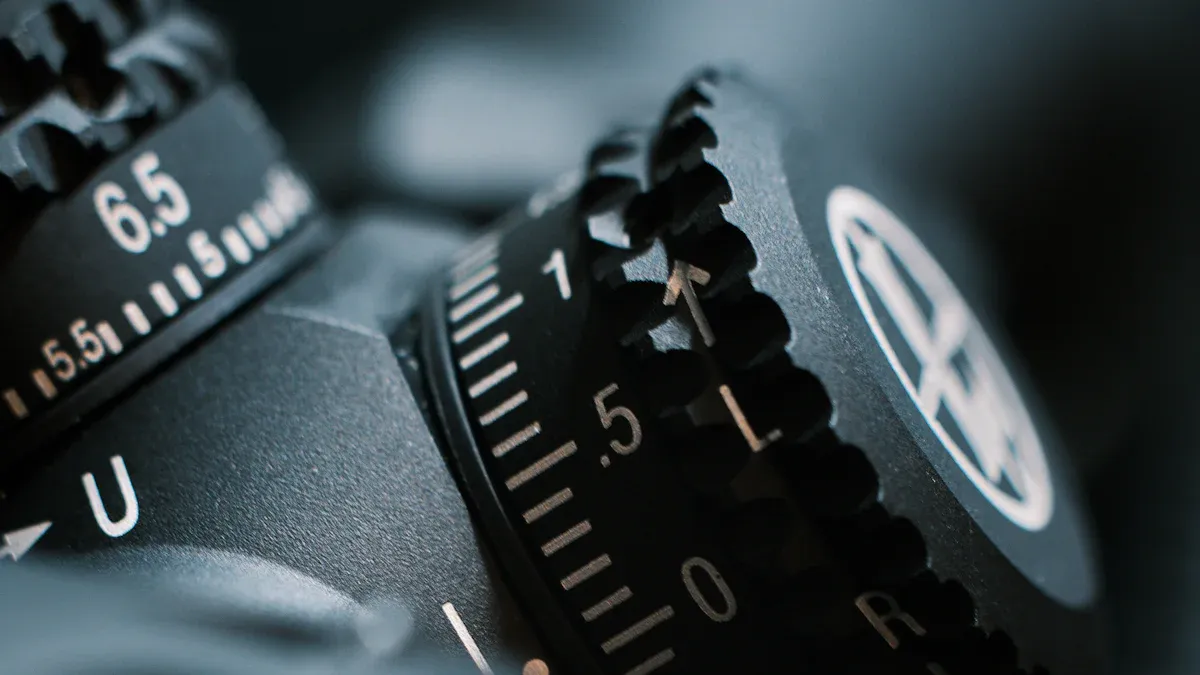
- Zeroing Your Scope: The relationship between the scope and the bore affects how you zero your optic. Proper height allows for precise adjustments in elevation and windage.
- Consistency in Shooting: A correctly mounted scope ensures consistent shots, which is vital for competitive shooting and hunting.
- Adjusting for Incline and Decline: Knowing the exact scope height helps shooters make necessary adjustments when aiming at different elevations.
"At close range, scope height affects aiming significantly. However, its impact diminishes beyond 15 yards, where other factors become more critical." This insight highlights the importance of choosing the right height for both short- and long-range shooting.
Common problems caused by incorrect scope ring height
Using the wrong scope ring height can lead to several issues that affect both accuracy and comfort. Some of the most common problems include:
- Difficulty Zeroing the Scope: Incorrect ring height can make it challenging to zero the scope, leading to inaccurate shots.
- Poor Eye Alignment: If the scope is too high or too low, the shooter may struggle to achieve proper eye relief, causing discomfort and reduced accuracy.
- Scope Shadow: A misaligned scope can create a shadow in the field of view, obstructing the target and making it harder to aim.
- Misconceptions About Accuracy: Many shooters mistakenly blame the scope for inaccuracies when the real issue lies in the ring height.
These problems emphasize the importance of carefully selecting the correct scope ring height to optimize performance and comfort.
Step-by-Step Process for Choosing Scope Ring Height
Measure your scope’s objective lens diameter and tube size
The first step in selecting the correct scope ring height involves measuring the objective lens diameter and tube size of your riflescope. The objective lens diameter determines how much light enters the scope, impacting image clarity. Larger lenses, such as 50mm or more, require taller scope rings to ensure proper clearance above the barrel. Tube size, often 1-inch, 30mm, or 34mm, affects internal adjustments and compatibility with scope rings.
To measure these dimensions:
- Objective Lens Diameter: Check the manufacturer’s specifications or measure the outer diameter of the lens.
- Tube Size: Use a caliper to measure the diameter of the scope’s maintube.
Tip: Larger objective lenses enhance light transmission but may require higher mounts, which can affect cheek weld and shooting posture. Always balance lens size with comfort and alignment.
Determine the height of your rifle’s mounting base or rail
The mounting base or rail height plays a crucial role in calculating the required scope ring height. This measurement ensures the scope clears the barrel and aligns with the shooter’s eye. To determine the rail height:
- Measure the distance from the top of the barrel to the top of the mounting base or rail.
- Record this value as part of the formula for calculating scope ring height.
For example, a Picatinny rail typically has a base height of 0.312 inches. This standard measurement simplifies calculations for most rifles.
Note: Bolt-action rifles may require additional clearance to ensure the bolt operates smoothly without interference from the scope.
Calculate the minimum required scope ring height
Once you have the objective lens diameter, tube size, and rail height, calculate the minimum scope ring height using the formula:
(Rail height + Ring height) – (Bell diameter x 0.5) = Minimum required height
Alternatively, use this simplified formula:
Objective Radius – Tube Radius – Base Height = Minimum Ring Height
For example:
- Objective Radius (50mm lens): 1.14 inches
- Tube Radius (30mm tube): 0.59 inches
- Base Height (Picatinny rail): 0.312 inches
Calculation: 1.14 – 0.59 – 0.312 = 0.238 inches
This result indicates that a minimum ring height of 0.238 inches is necessary to avoid contact between the scope and barrel.
Practical Consideration: Always leave a small gap between the objective lens and the barrel to prevent damage and maintain accuracy.
Example calculation for determining scope ring height
Let’s apply the formula to a real-world scenario. Suppose you have a 3-9x40mm scope with a 1-inch tube mounted on a Picatinny rail. Here’s how to calculate the scope ring height:
- Objective Radius: Divide the objective lens diameter (40mm) by 2 to get 20mm or 0.787 inches.
- Tube Radius: Divide the tube diameter (1 inch) by 2 to get 0.5 inches.
- Base Height: Use the standard Picatinny rail height of 0.312 inches.
Calculation: 0.787 – 0.5 – 0.312 = -0.025 inches
Since the result is negative, the scope will touch the barrel. To resolve this, choose taller rings that add at least 0.025 inches to the height. For example, medium-height rings with a saddle height of 0.5 inches would provide sufficient clearance.
Real-World Insight: Traditional rifle stocks often lack adjustable cheek pieces, making lower scope mounts preferable for better alignment. However, taller rings may be necessary for larger objective lenses.
Key Factors to Consider When Selecting Scope Ring Height
Barrel contour and objective lens clearance
Barrel contour plays a significant role in determining scope ring height. Rifles with heavy or tapered barrels require careful consideration to ensure the scope clears the barrel without interference. Shooters must measure the objective lens diameter and compare it to the barrel’s contour to avoid contact. For example, a rifle with a 50mm objective lens and a thick barrel may need high rings to maintain proper clearance.
Objective lens clearance is equally important. Insufficient clearance can lead to scratches on the lens or barrel, reducing the scope’s lifespan. To prevent this, shooters should leave a small gap between the lens and barrel. This gap ensures smooth operation and protects the scope during recoil.
Tip: Always test the clearance by cycling the rifle’s bolt or performing dry-fire drills. This ensures the scope doesn’t obstruct the rifle’s mechanics.
Eye alignment, cheek weld, and shooting posture
Proper eye alignment and cheek weld are critical for consistent shooting. Low scope rings often work best for smaller objective lenses, such as 32mm, as they allow shooters to maintain a solid cheek weld. However, individual differences in face shape and stock height can affect alignment. Selecting the right scope ring height ensures the shooter’s eye naturally aligns with the scope’s center, reducing strain and improving accuracy.
- A good cheek weld stabilizes the rifle and minimizes movement during recoil.
- Poor alignment can cause discomfort and force shooters to adjust their posture, leading to inconsistent shots.
- Taller rings may be necessary for shooters with larger faces or rifles with high stocks.
Note: Test your shooting posture with different ring heights to find the most comfortable and stable setup.
Scope design, tube diameter, and personal preferences
Scope design and tube diameter influence ring height selection. Scopes with larger tubes, such as 30mm or 34mm, require rings that accommodate their size. Additionally, scopes with unique designs, like extended turrets or illuminated reticles, may need higher mounts to avoid interference with the rifle’s rail or barrel.
Personal preferences also play a role. Some shooters prefer lower rings for better alignment, while others opt for higher rings to accommodate accessories like flip-up lens caps. For instance, a hunter using a 3-9x40mm scope may choose medium rings for optimal balance between clearance and comfort.
Practical Example: A competitive shooter using a 50mm objective lens and a 34mm tube might select high rings to ensure proper clearance and alignment during rapid-fire scenarios.
Practical Tips for Verifying Scope Ring Height
Testing for proper eye relief and alignment
Proper eye relief and alignment are essential for achieving a clear sight picture and maintaining shooting comfort. Shooters can test for optimal eye relief by adjusting the scope forward or backward until the entire field of view becomes visible. This adjustment ensures the reticle remains centered and eliminates any black edges around the sight picture.
Key steps for verifying eye relief include:
- Adjusting the scope’s position until achieving a full sight picture.
- Identifying the sweet spot for eye relief, typically within an inch range, for various shooting positions.
- Ensuring the reticle remains level without moving the scope after setting eye relief.
- Torquing the scope rings according to the manufacturer’s specifications to avoid damaging the tube.
Tip: Always test eye relief in different shooting positions, such as prone or standing, to ensure consistency across scenarios.
Identifying and resolving common issues like scope shadow
Scope shadow can obstruct the shooter’s view and reduce accuracy. This issue often arises from improper alignment between the scope and the shooter’s eye. To resolve scope shadow, shooters should adjust their head position or the scope’s placement until the shadow disappears.
Practical insights from user experiences reveal that shadowing often highlights unarticulated needs. Observing how shooters interact with their equipment can uncover areas for improvement. Identifying these struggles and workarounds ensures a more effective setup.
Note: If scope shadow persists despite adjustments, consider re-evaluating the scope ring height or switching to a different mounting system.
When to consider adjustable scope mounts for flexibility
Adjustable scope mounts offer unmatched flexibility for shooters seeking precision in their setup. These mounts allow adjustments in cant or taper, maximizing the usable elevation adjustment range of scopes. For long-range shooting, adjustable mounts enable shooters to optimize their setup without limitations imposed by fixed mounts.
Benefits of adjustable mounts include:
- Fine-tuning adjustments in 10 MOA increments for better compatibility with specific rifles and scopes.
- Enhancing the scope’s internal adjustment capabilities for long-distance accuracy.
- Providing versatility for shooters who frequently switch between different shooting scenarios.
Practical Example: A shooter using a high-powered scope for competitive shooting can benefit from adjustable mounts to achieve precise alignment and maximize elevation adjustments.
Choosing the correct scope ring height is essential for accuracy and comfort. It ensures proper alignment, enhances shooting posture, and prevents common issues like scope shadow. Following the outlined steps and considering key factors will help shooters achieve optimal results.
Final Advice: Testing and adjustment are crucial for improvement.
- Train and practice skills through drills.
- Test performance in matches and document results.
- Evaluate gear and modify as needed.
- Rate execution on a scale of 1-10 to identify areas for growth.
By refining your setup and skills, you can enjoy a more precise and comfortable shooting experience.
FAQ
How do I know if my scope rings are too high or too low?
Check your shooting posture. If your cheek doesn’t rest naturally on the stock or you struggle with eye alignment, the rings may need adjustment.
Tip: Test different ring heights to find the most comfortable and accurate setup.
Can I use the same scope rings for different rifles?
Yes, but only if the rifles share similar rail heights and scope dimensions. Always verify compatibility before switching rings between rifles.
What happens if my scope touches the barrel?
Contact between the scope and barrel can damage both. It also affects accuracy by disrupting the scope’s alignment. Use taller rings to prevent this issue.
Note: Leave a small gap between the scope and barrel for optimal performance.
Post time: May-06-2025